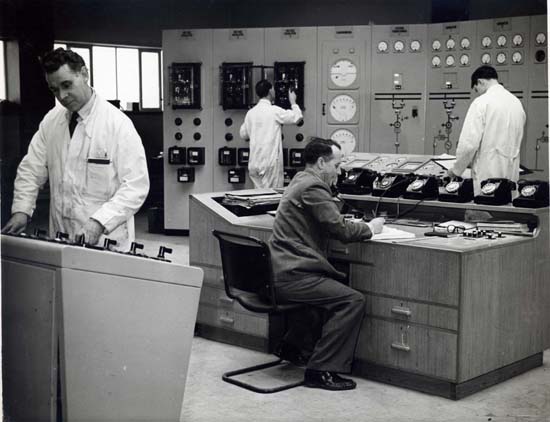
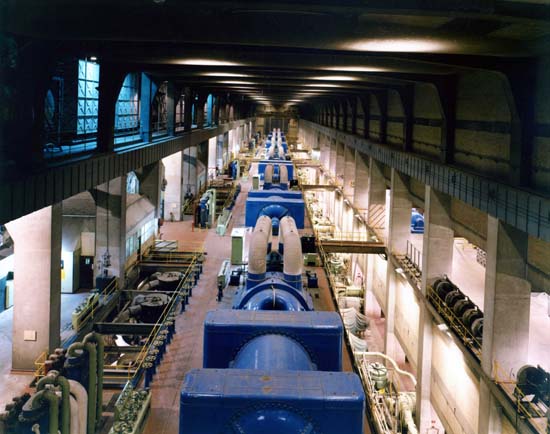
Lorem ipsum dolor sit amet, consectetur adipiscing elit. Ut elit tellus, luctus nec ullamcorper mattis, pulvinar dapibus leo. Hams C Control room. Photo supplied by Jim AldridgeHams Hall C Turbine hall. Photo supplied by Jim AldridgeHams Hall C Turbine hall. Photo supplied by Jim AldridgeHams Hall C Turbine hall. Photo supplied by Jim Aldridge Hams Hall C information Construction Inside Rotor Removal Outside Closure Vesting Day Hams Hall A Power Station Hams Hall B Power Station Hams Hall C Power Station Hams Hall Staff