


Hams Hall B during the demolition. Photo supplied by Howard Peach
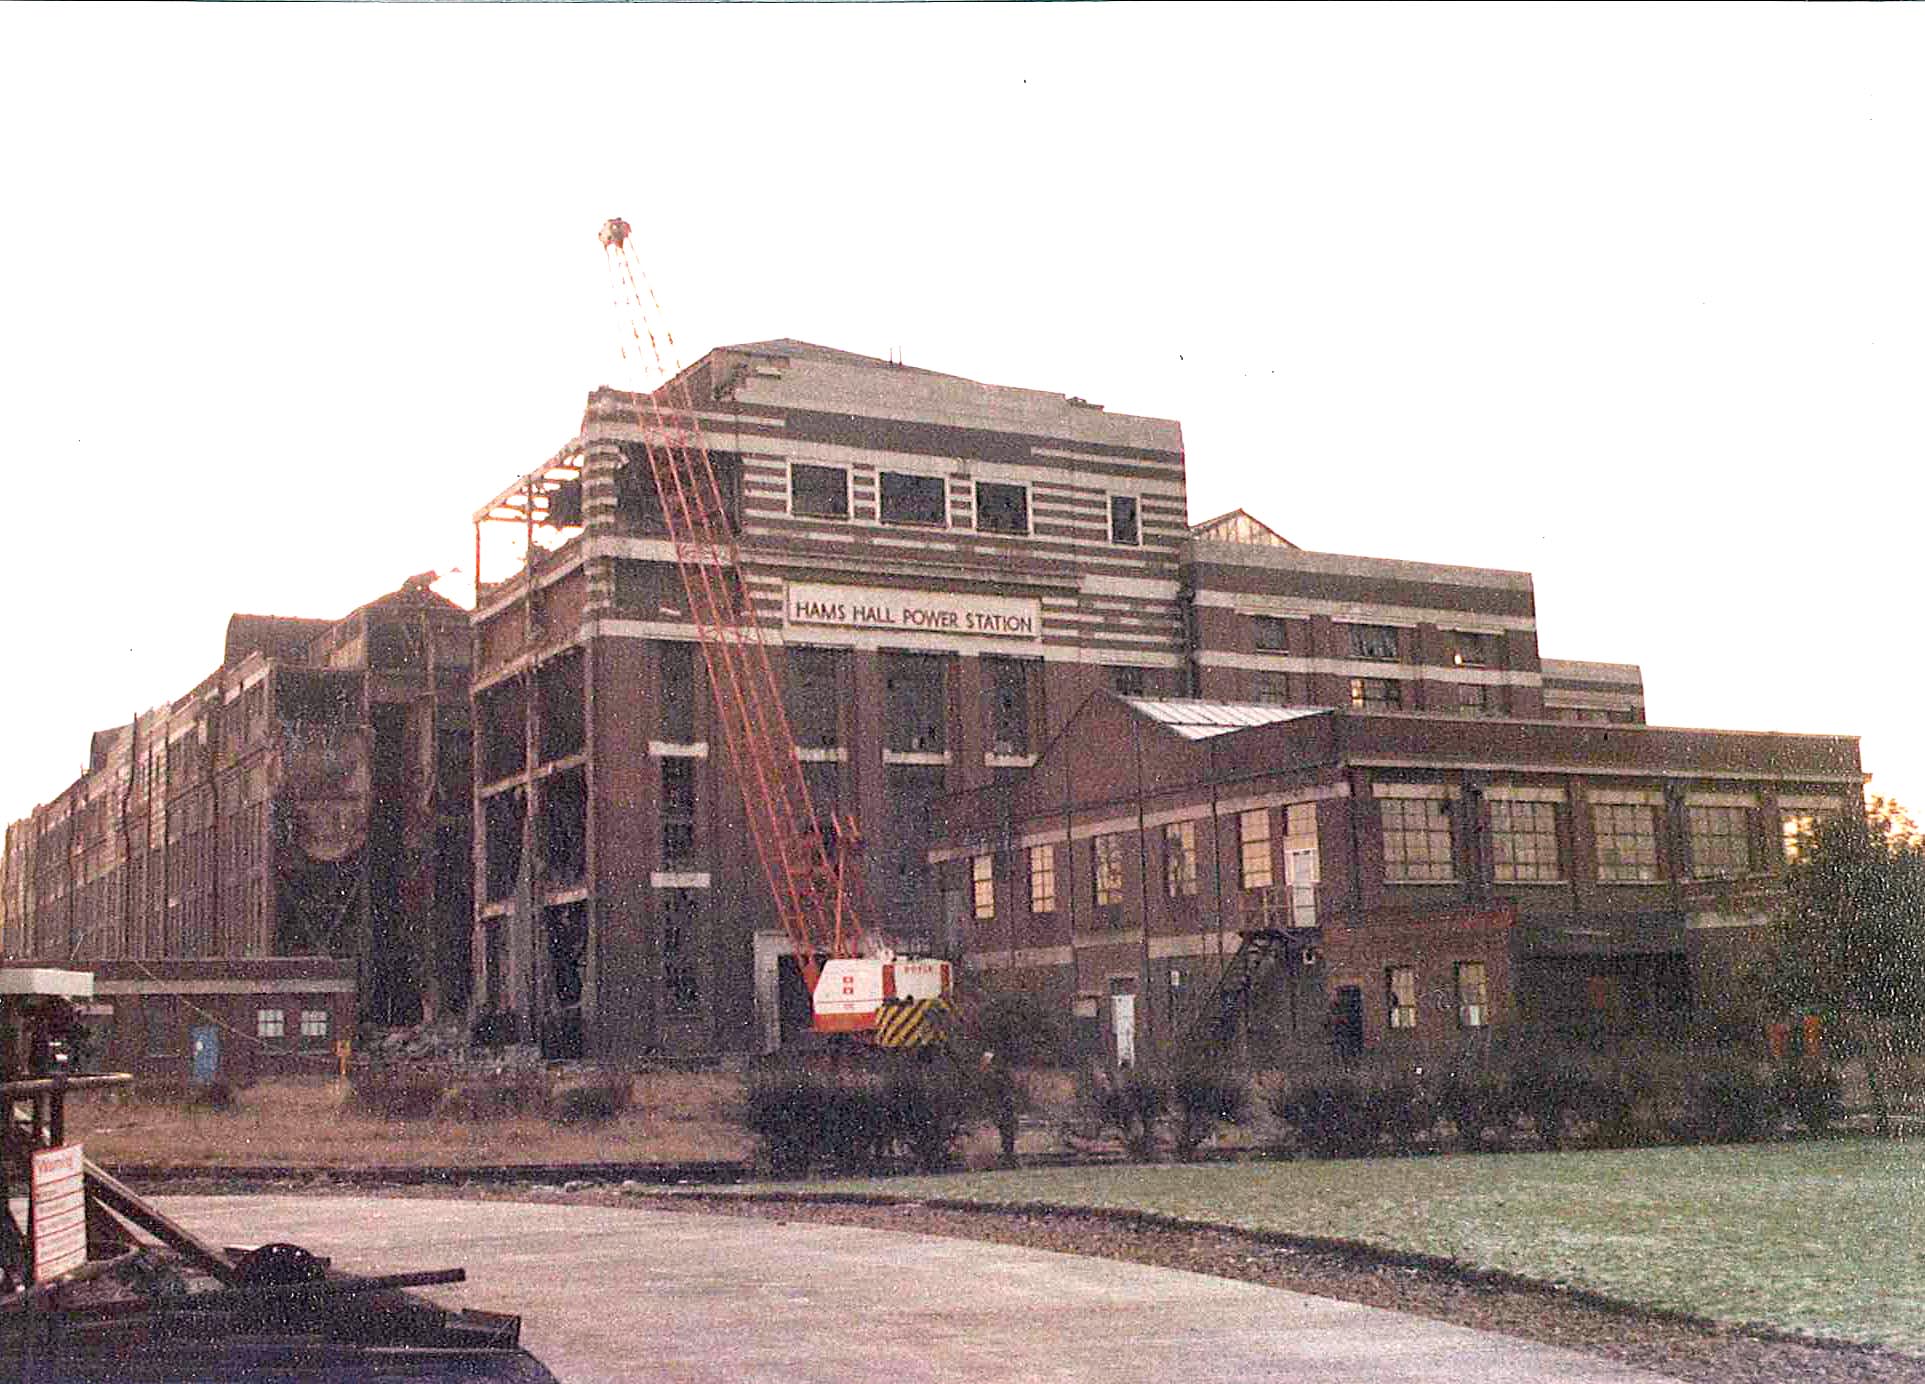
Hams Hall B demolition. Photo supplied by Howard Peach
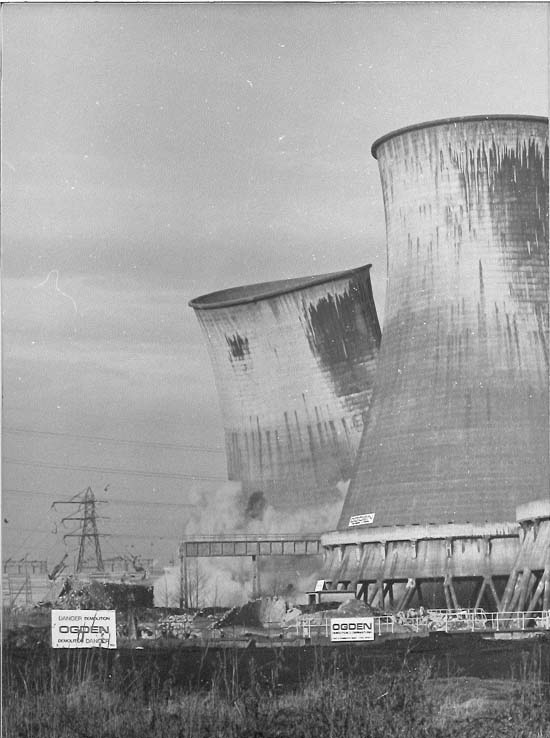
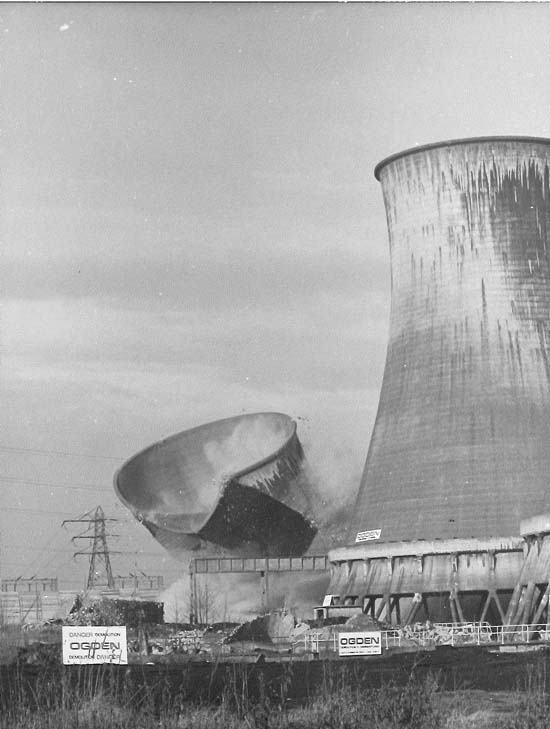
Demolition of the Hams Hall B cooling towers. Photo supplied by Jim Aldridge
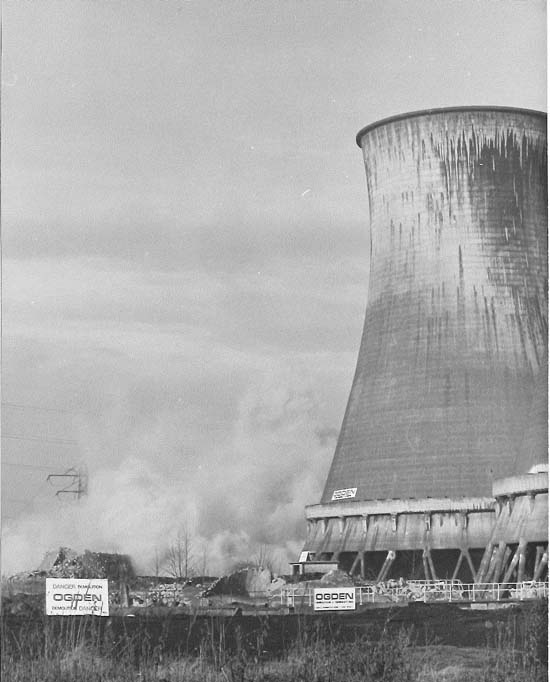
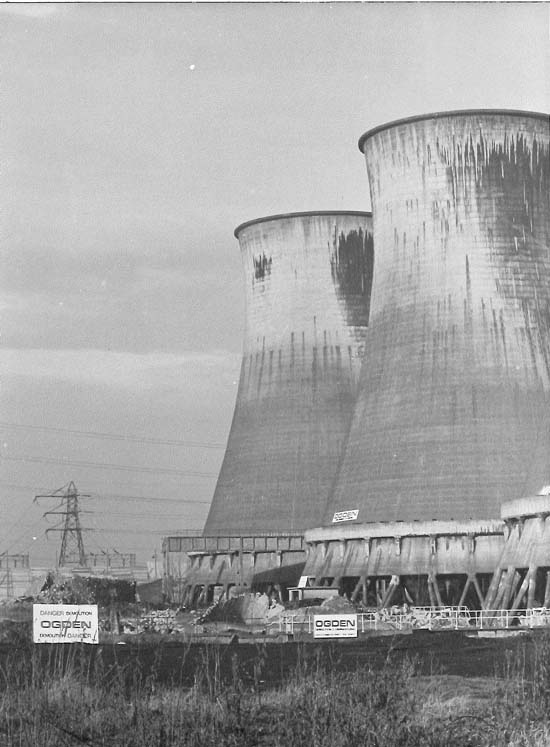
Demolition of the Hams Hall B cooling towers. Photo supplied by Jim Aldridge
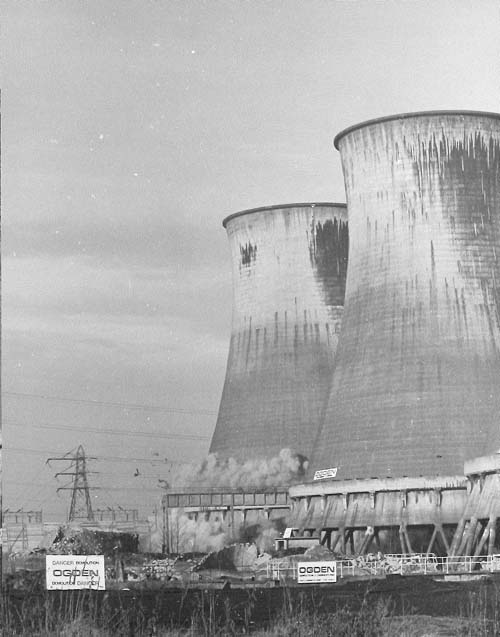
Demolition of the Hams Hall B cooling towers. Photo supplied by Jim Aldridge
Demolition of the Hams Hall B cooling towers. Photo supplied by Jim Aldridge
Demolition of the Hams Hall B cooling towers. Photo supplied by Jim Aldridge